MessageBoxes & Popup Windows
Subscribe to Tech with Tim
This PyQt5 Tutorial will show you how to create message boxes/popup windows using pyqt. We will use the QMessageBox class to accomplish this.
Creating a Basic GUI
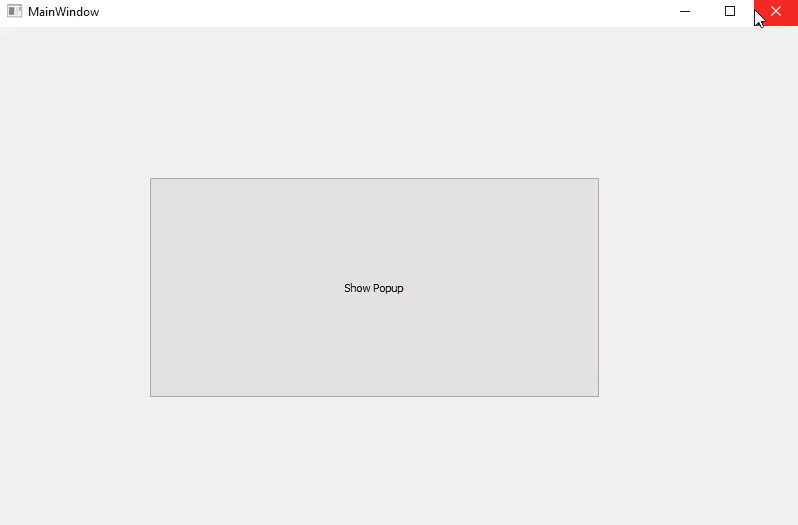
I've started this tutorial by creating a very minimal GUI that contains one button. This way we can use the button press to trigger a popup/mesagebox.
This is what my GUI looks like:
Importing QMessageBox
To make our lives a little easier we will start by importing the QMessageBox class. This way each time we want to reference it we can use it directly.
from PyQt5.QtWidgets import QMessageBox
Creating a MessageBox
Note: I'm placing the code seen below inside the method that is linked to my button press. This way when the button is clicked a messagebox will appear on the screen.
Everytime we create a new popup window we need to create a new instance of QMessageBox.
msg = QMessageBox()
Then we can start changing some properties of the messagebox like the title and the text.
msg.setWindowTitle("Tutorial on PyQt5")
msg.setText("This is the main text!")
The method names are pretty intuitive so I'll pass on explaining them.
We will add some more to our messagebox later but for now lets test it out. To actually see the messagebox when we run the code we need to add one last line to the end of our method:
x = msg.exec_() # this will show our messagebox
And this is what we get when we click the button!

Adding an Icon
A nice feature that our message boxes have it the ability to add an icon!
msg.setIcon(QMessageBox.Critical)
List of Icons
- QMessageBox.Critical
- QMessageBox.Warning
- QMessageBox.Information
- QMessageBox.Question
Here's what our messagebox looks like with the Critical icon.

Adding/Changing Buttons
Now it's time to change the buttons that show up in our QMessageBox. To do this we need to first select from a list of buttons that we'd like.
List of Buttons
- QMessageBox.Ok
- QMessageBox.Open
- QMessageBox.Save
- QMessageBox.Cancel
- QMessageBox.Close
- QMessageBox.Yes
- QMessageBox.No
- QMessageBox.Abort
- QMessageBox.Retry
- QMessageBox.Ignore
We can add any combinations of these buttons to our message box by using the following:
msg.setStandardButtons(QMessageBox.Retry | QMessageBox.Ignore | QMessageBox.Cancel) # seperate buttons with "|"
We can also set the button that will be highlighted by default by using:
msg.setDefaultButton(QMessageBox.Ignore) # setting default button to Cancel
Now our messagebox looks like this!

Getting Button Pressed
Now that we've learned how to add more than one button is probably important to determine which button the user is clicking.
To do this we need to create a new method/function that takes one argument. This argument will be the button widget that was clicked.
    def popup_clicked(self, i):
        print(i.text())  # will print out the text on the button clicked
No we can link our messagebox to trigger that method when any button is pressed.
msg.buttonClicked.connect(self.popup_clicked)
Now when we click a button on the messagebox it's text will be printed out to the console.
Other Properties
A few other things we can add are listed below:
Informative Text This is the text that shows below the main text.
msg.setInformativeText("informative text, ya!")

Detail Text This will generate a new button that will allow us to expand the message box and view more details.
msg.setDetailedText("details")

Full Code
from PyQt5 import QtCore, QtGui, QtWidgets
from PyQt5.QtWidgets import QMessageBox

class Ui_MainWindow(object):
	...
	def show_popup(self):
		msg = QMessageBox()
		msg.setWindowTitle("Tutorial on PyQt5")
		msg.setText("This is the main text!")
		msg.setIcon(QMessageBox.Question)
		msg.setStandardButtons(QMessageBox.Cancel|QMessageBox.Retry|QMessageBox.Ignore|)
		msg.setDefaultButton(QMessageBox.Retry)
		msg.setInformativeText("informative text, ya!")

		msg.setDetailedText("details")

		msg.buttonClicked.connect(self.popup_button)

	def popup_button(self, i):
		print(i.text())