Basic Movement & Key Presses
Subscribe to Tech with Tim
What is Pygame?
Pygame is a third party module designed for creating 2D games with python. It has very simple and intuitive syntax that can allows us to create powerful games quickly. Pygame uses surfaces for drawing. This means whenever we want to draw something to the screen it must be converted to a surface. There are many methods and functions within pygame that can do this easily for us.
Installing Pygame
Installing pygame can be as easy as:
- Opening your command prompt
- Typing pip install pygame
However, in many cases this will not work. Below are guides for installing pygame on both windows and mac.
Windows: How to Install Pygame on Windows
Mac OS: How to Install Pygame on Mac
Linux: refer to the Mac OS Guide.
Creating a Window
After we import pygame it is a good idea to initialize it, like so:
import pygame
pygame.init()
Once we've done that we need to setup a windows that will represent our game.
import pygame
pygame.init()

win = pygame.display.set_mode((500, 500))
# This line creates a window of 500 width, 500 height
Now when we run the program we get something that looks like this.

This is great but we'd like to give our game a more creative name than "pygame window". To do this we can can type the following.
pygame.display.set_caption("First Game")
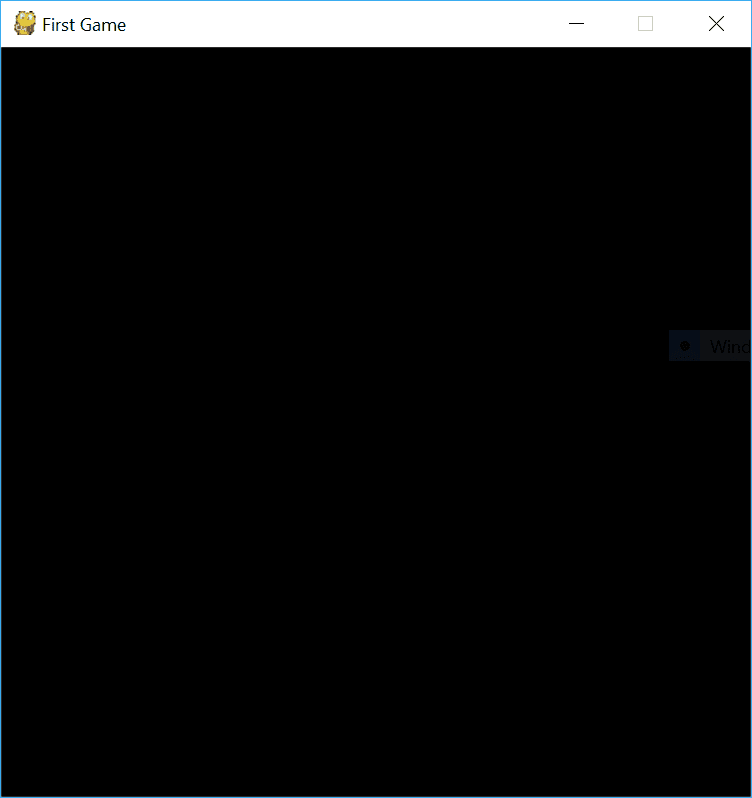
That's better!
Moving a Character
We are going to start by defining a few variables to represent our character.
x = 50
y = 50
width = 40
height = 60
vel = 5
Now we are going to setup our Main-loop or game-loop. All games have some sort of loop that executes constantly. This loop is responsible for tasks such as checking for events (such as keyboard events or collision), moving objects, updating the display and eventually ending the game. In our game we will use a while loop.
Inside the loop we will implement a time delay so we can control the speed of the game. We will also start by checking for some specific events.
import pygame
pygame.init()

win = pygame.display.set_mode((500,500))
pygame.display.set_caption("First Game")

x = 50
y = 50
width = 40
height = 60
vel = 5

run = True

while run:
    pygame.time.delay(100) # This will delay the game the given amount of milliseconds. In our casee 0.1 seconds will be the delay

    for event in pygame.event.get():  # This will loop through a list of any keyboard or mouse events.
        if event.type == pygame.QUIT: # Checks if the red button in the corner of the window is clicked
            run = False  # Ends the game loop

pygame.quit()  # If we exit the loop this will execute and close our game
Now we can draw a rectangle to the screen to represent our character. We will draw the rectangle in the main loop so that it is constantly redrawn each time we loop.
import pygame
pygame.init()

win = pygame.display.set_mode((500,500))
pygame.display.set_caption("First Game")

x = 50
y = 50
width = 40
height = 60
vel = 5

run = True

while run:
    pygame.time.delay(100)

    for event in pygame.event.get():
        if event.type == pygame.QUIT:
            run = False

    pygame.draw.rect(win, (255,0,0), (x, y, width, height))  #This takes: window/surface, color, rect
    pygame.display.update() # This updates the screen so we can see our rectangle

pygame.quit()
Now we can start checking for events so that we can move our character.
import pygame
pygame.init()

win = pygame.display.set_mode((500,500))
pygame.display.set_caption("First Game")

x = 50
y = 50
width = 40
height = 60
vel = 5

run = True

while run:
    pygame.time.delay(100)

    for event in pygame.event.get():
        if event.type == pygame.QUIT:
            run = False

    keys = pygame.key.get_pressed()  # This will give us a dictonary where each key has a value of 1 or 0. Where 1 is pressed and 0 is not pressed.

    if keys[pygame.K_LEFT]: # We can check if a key is pressed like this

    if keys[pygame.K_RIGHT]:

    if keys[pygame.K_UP]:

    if keys[pygame.K_DOWN]:

    pygame.draw.rect(win, (255,0,0), (x, y, width, height))
    pygame.display.update()

pygame.quit()
Inside the if statements we will change the value of the variables x and y to move the character. This brings me to the coordinate system. In pygame the top left corner of the screen is (0,0) and the bottom right is (width, height). This means to move up we subtract from the y of our character and to move down we add to the y.
import pygame
pygame.init()

win = pygame.display.set_mode((500,500))
pygame.display.set_caption("First Game")

x = 50
y = 50
width = 40
height = 60
vel = 5

run = True

while run:
    pygame.time.delay(100)

    for event in pygame.event.get():
        if event.type == pygame.QUIT:
            run = False

    keys = pygame.key.get_pressed()

    if keys[pygame.K_LEFT]:
        x -= vel

    if keys[pygame.K_RIGHT]:
        x += vel

    if keys[pygame.K_UP]:
        y -= vel

    if keys[pygame.K_DOWN]:
        y += vel

    pygame.draw.rect(win, (255,0,0), (x, y, width, height))
    pygame.display.update()

pygame.quit()
Now when we run the program and start moving our rectangle we can still see all of the previous rectangles.

To fix this we simply have to draw over the previous shape before redrawing another one. We can use window.fill(color) to do this.
import pygame
pygame.init()

win = pygame.display.set_mode((500,500))
pygame.display.set_caption("First Game")

x = 50
y = 50
width = 40
height = 60
vel = 5

run = True

while run:
    pygame.time.delay(100)

    for event in pygame.event.get():
        if event.type == pygame.QUIT:
            run = False

    keys = pygame.key.get_pressed()

    if keys[pygame.K_LEFT]:
        x -= vel

    if keys[pygame.K_RIGHT]:
        x += vel

    if keys[pygame.K_UP]:
        y -= vel

    if keys[pygame.K_DOWN]:
        y += vel

    win.fill((0,0,0))  # Fills the screen with black
    pygame.draw.rect(win, (255,0,0), (x, y, width, height))
    pygame.display.update()

pygame.quit()
And now we can move our character around!