KNN P.3 – Implementation
Subscribe to Tech with Tim
For the official SkLearn KNN documentation click here.
Training a KNN Classifier
Creating a KNN Classifier is almost identical to how we created the linear regression model. The only difference is we can specify how many neighbors to look for as the argument n_neighbors.
from sklearn.neighbors import KNeighborsClassifier

model = KNeighborsClassifier(n_neighbors=9)
To train our model we follow precisely the same steps as outlined earlier.
model.fit(x_train, y_train)
And once again to score our model we will do the following.
acc = model.score(x_test, y_test)
print(acc)
Testing Our Model
If we'd like to see how our model is performing on the unique elements of our test data we can do the following.
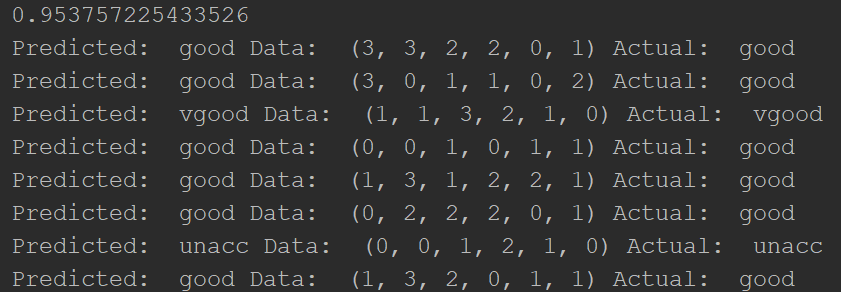
predicted = model.predict(x_test)
names = ["unacc", "acc", "good", "vgood"]

for x in range(len(predicted)):
    print("Predicted: ", names[predicted[x]], "Data: ", x_test[x], "Actual: ", names[y_test[x]])

# This will display the predicted class, our data and the actual class
# We create a names list so that we can convert our integer predictions into
# their string representation
Our output should look like the following.
Looking at Neighbors
The KNN model has a unique method that allows for us to see the neighbors of a given data point. We can use this information to plot our data and get a better idea of where our model may lack accuracy. We can use model.neighbors to do this.
Note: the .neighbors method takes 2D as input, this means if we want to pass one data point we need surround it with [] so that it is in the right shape. Parameters: The parameters for .neighbors are as follows: data(2D array), # of neighbors(int), distance(True or False) Return: This will return to us an array with the index in our data of each neighbor. If distance=True then it will also return the distance to each neighbor from our data point.
predicted = model.predict(x_test)
names = ["unacc", "acc", "good", "vgood"]

for x in range(len(predicted)):
    print("Predicted: ", names[predicted[x]], "Data: ", x_test[x], "Actual: ", names[y_test[x]])
    # Now we will we see the neighbors of each point in our testing data
    n = model.kneighbors([x_test[x]], 9, True)
    print("N: ", n)
Our output should now be a mess that looks like this.

##Full Code
import sklearn
from sklearn.utils import shuffle
from sklearn.neighbors import KNeighborsClassifier
import pandas as pd
import numpy as np
from sklearn import linear_model, preprocessing

data = pd.read_csv("car.data")

le = preprocessing.LabelEncoder()
buying = le.fit_transform(list(data["buying"]))
maint = le.fit_transform(list(data["maint"]))
door = le.fit_transform(list(data["door"]))
persons = le.fit_transform(list(data["persons"]))
lug_boot = le.fit_transform(list(data["lug_boot"]))
safety = le.fit_transform(list(data["safety"]))
cls = le.fit_transform(list(data["class"]))

predict = "class"

X = list(zip(buying, maint, door, persons, lug_boot, safety))
y = list(cls)

x_train, x_test, y_train, y_test = sklearn.model_selection.train_test_split(X, y, test_size = 0.1)

model = KNeighborsClassifier(n_neighbors=9)

model.fit(x_train, y_train)
acc = model.score(x_test, y_test)
print(acc)

predicted = model.predict(x_test)
names = ["unacc", "acc", "good", "vgood"]

for x in range(len(predicted)):
    print("Predicted: ", names[predicted[x]], "Data: ", x_test[x], "Actual: ", names[y_test[x]])
    n = model.kneighbors([x_test[x]], 9, True)
    print("N: ", n)